Inventory
Purpose
The Inventory module tracks all physical goods owned and managed by the cooperative. It handles stock receipts, issues, transfers between warehouses, physical stock counts, and adjustments. This module is typically used by cooperatives that operate a retail store, supply goods to members, or manage cooperative assets.
Who Can Access
- Administrator
- Inventory Officer / Store Manager
- Manager (view and approvals)
How to Open This Page
Treasury & Control → Procurement & Assets → Inventory
Screen Overview
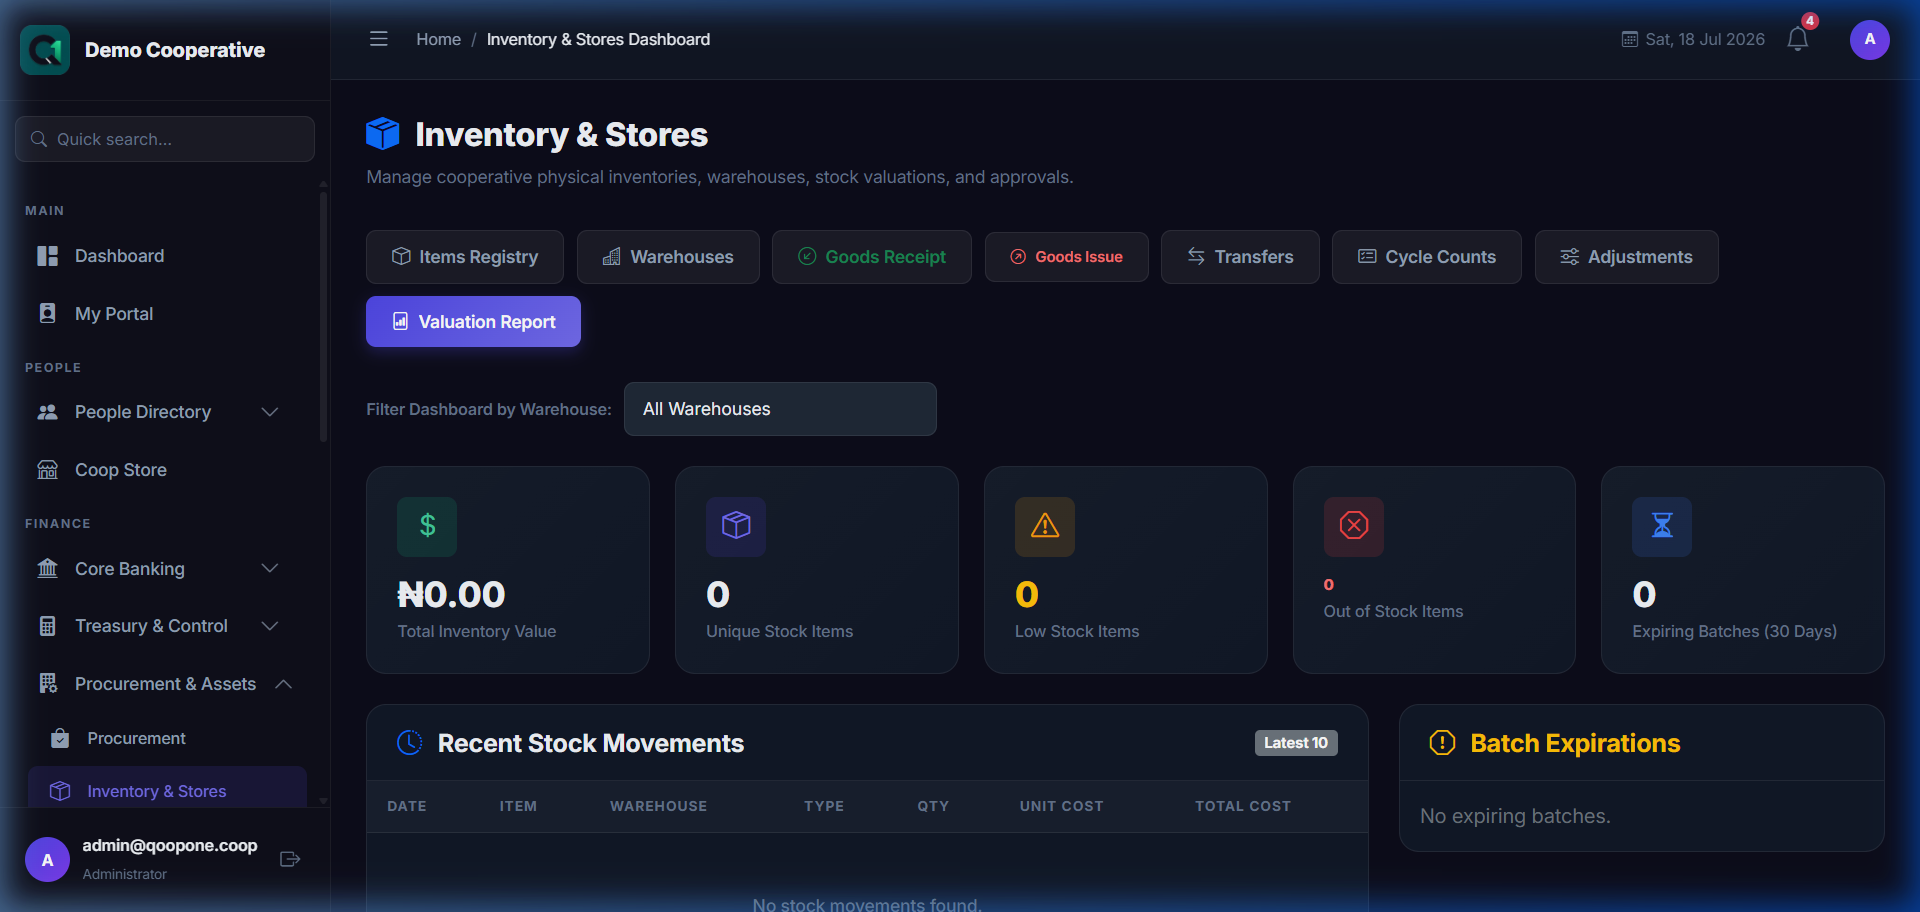
👉 HOW TO MANAGE INVENTORY ITEMS (Vivid Guide)
- Go to Procurement & Assets -> Inventory & Stores in the sidebar.
- Add new item: Click "New Item", enter name, SKU/code, unit of measure, quantity on hand, and reorder level. Click save.
- Adjust stock level: To record new stock arrivals or usage, click "Post Stock Adjustment", select the item, enter the adjustment amount (+ for new arrivals, - for usage), and click save.
The Inventory dashboard shows total stock value, number of items, low-stock alerts, and recent movements.
Key Concepts
| Term | Meaning |
|---|---|
| Item | A product tracked in inventory (e.g., "Rice (50kg bag)") |
| Category | A group of similar items (e.g., "Food Commodities") |
| Warehouse | A physical location where stock is stored |
| GRN | Goods Received Note — records items received into stock |
| Issue | Recording stock removed from inventory (given to a member or used) |
| Transfer | Moving stock between two warehouses |
| Stock Count | A physical count of items to verify system quantities |
| Adjustment | Correcting the system quantity after discrepancies are found |
Managing Warehouses
Before adding inventory items, set up your storage locations:
- Go to Inventory → Warehouses.
- Click New Warehouse.
- Enter the Name and Location.
- Click Save.
Adding an Inventory Item
- Go to Inventory → Items → Create Item.
- Enter:
- Item Name (e.g., "50kg Bag of Rice")
- Category (e.g., "Grains")
- Unit of Measure (e.g., Bags, Litres, Pieces)
- Reorder Level — minimum quantity before a low-stock alert is triggered
- Current Stock (opening balance)
- Warehouse where this item is stored
- Unit Cost (price per unit)
- Click Save Item.
Receiving Stock (GRN)
When new stock arrives from procurement:
- Go to Inventory → Receipt (or link from a Procurement GRN).
- Select the Warehouse.
- Add the items received with quantities.
- Click Post Receipt.
The stock balance for each item is increased automatically.
Issuing Stock
When stock is given to a member or department:
- Go to Inventory → Issue.
- Select the Warehouse.
- Select the Recipient (a member or department).
- Add the items and quantities being issued.
- Click Post Issue.
Stock is reduced automatically.
Transferring Stock Between Warehouses
- Go to Inventory → Transfers.
- Click New Transfer.
- Select the Source Warehouse and Destination Warehouse.
- Add the items and quantities.
- Click Post Transfer.
Stock Counts
Periodically, count physical stock and reconcile with the system:
- Go to Inventory → Stock Counts.
- Click New Count.
- Enter the actual physical counts for each item.
- The system shows the variance (difference between system and physical count).
- Review variances.
- Click Approve Count to update the system with actual figures.
Inventory Reports
Inventory → Reports gives you:
| Report | Description |
|---|---|
| Stock on Hand | Current quantity and value of all items |
| Movement Report | All receipts, issues, and transfers for a period |
| Low Stock Report | Items below reorder level |
| Valuation Report | Total inventory value by category |
Tips
Tip
Set realistic Reorder Levels for each item so the system alerts you before you run out of stock.
Tip
Run a Stock Count at least quarterly to catch discrepancies early.
Common Mistakes
- Issuing stock without recording it — always post an issue so the system balance stays accurate.
- Forgetting to set a reorder level, meaning the system never alerts you to low stock.